
You will need a pattern such as Suitability #3820.
Then select some stretchy, lycra type material for the body of the shirt and a satin type material for the collar, facing, and cuffs. You will also need a separating zipper, thread to match and any embellishments you may need.

Cut out the pattern, lay it out on the fabric and cut out according to the pattern except for the facing which I cut out larger on the sides so that it shows on each side of the zipper.

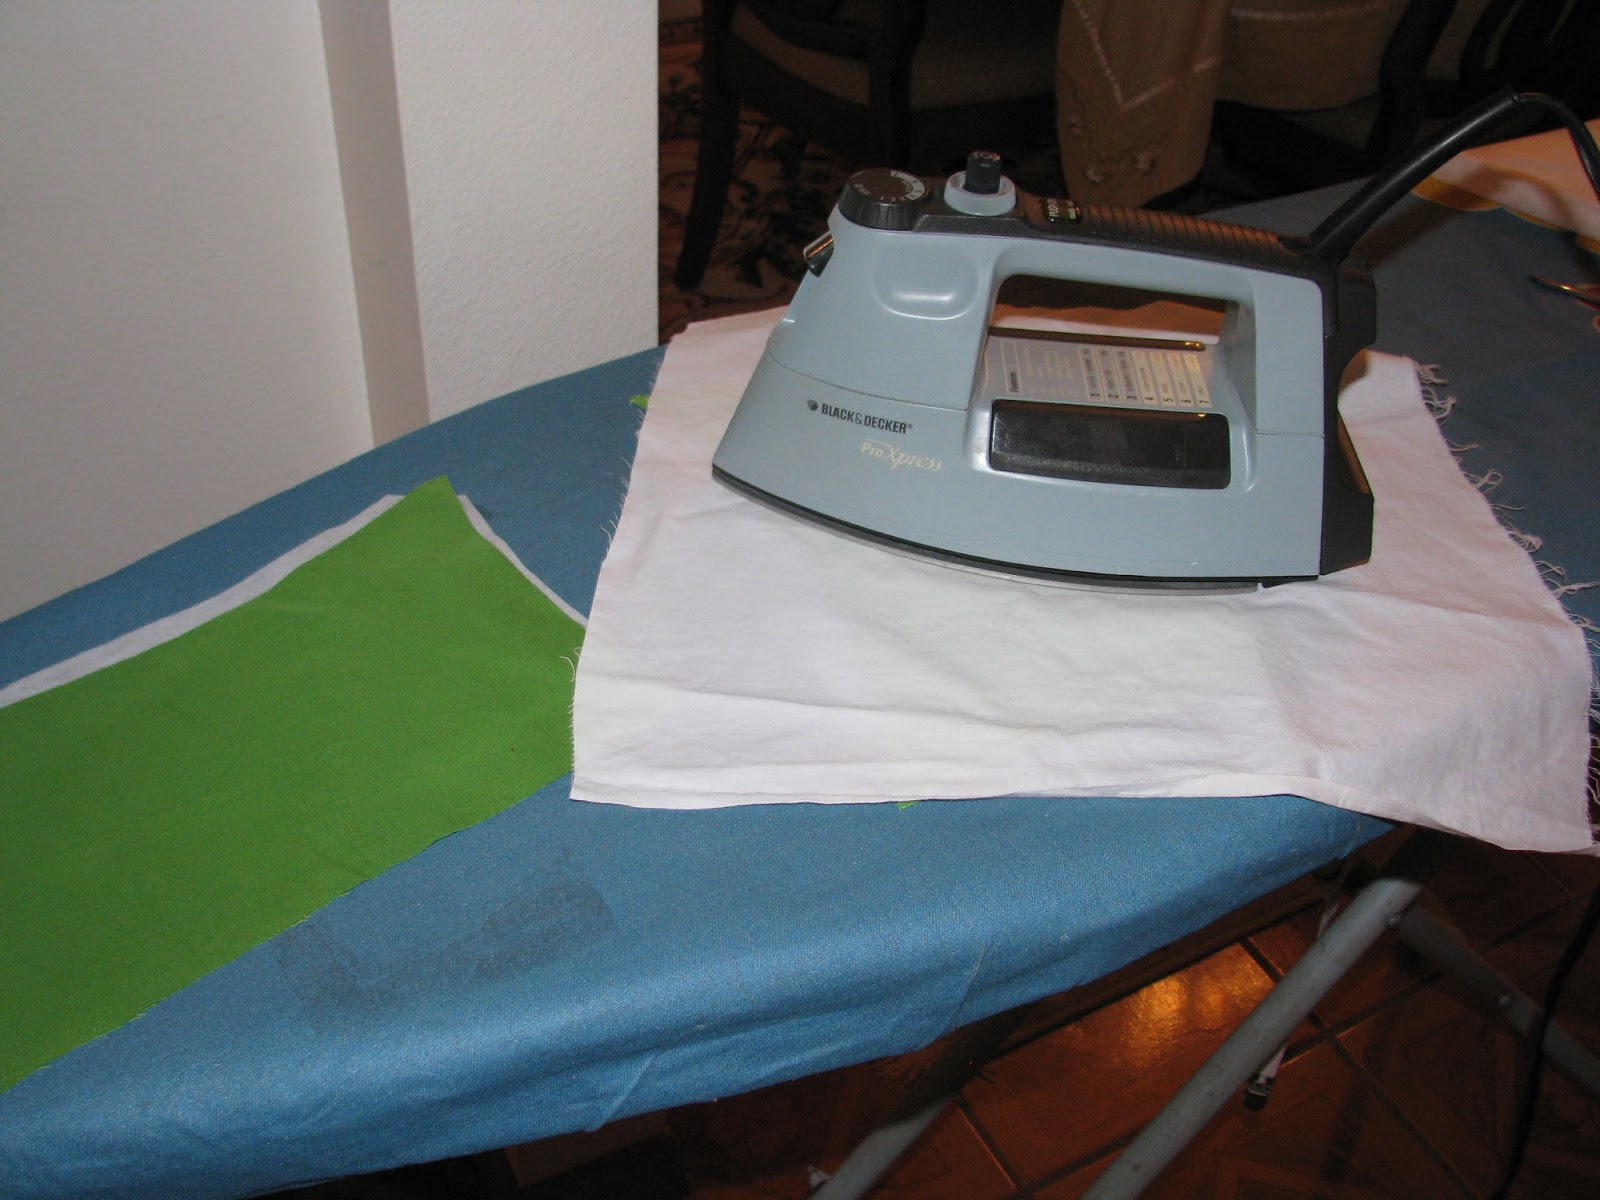
When ironing on the interfacing, use a press cloth over the fabric so that the interfacing a.). doesn't stick to the iron or ironing board. b.) doesn't cause a sheen to your fabric.

The interfacing for the facings should not cover the inside fabric by about 1 inch. This is so that when you place the zipper in, a bit of the facing will show from the outside acting much like a bit of piping. The Suitability pattern does not instruct this, but I think it's a nice look and adds more stability to the shirt.


You will also need to stabilize the wrong side of the body of the shirt with a length of interfacing where the zipper will be sewn. Now you have all the pieces ready to sew. Part II will be sewing the shirt. I hope this part has been helpful to you.
No comments:
Post a Comment